
Add a Content Area
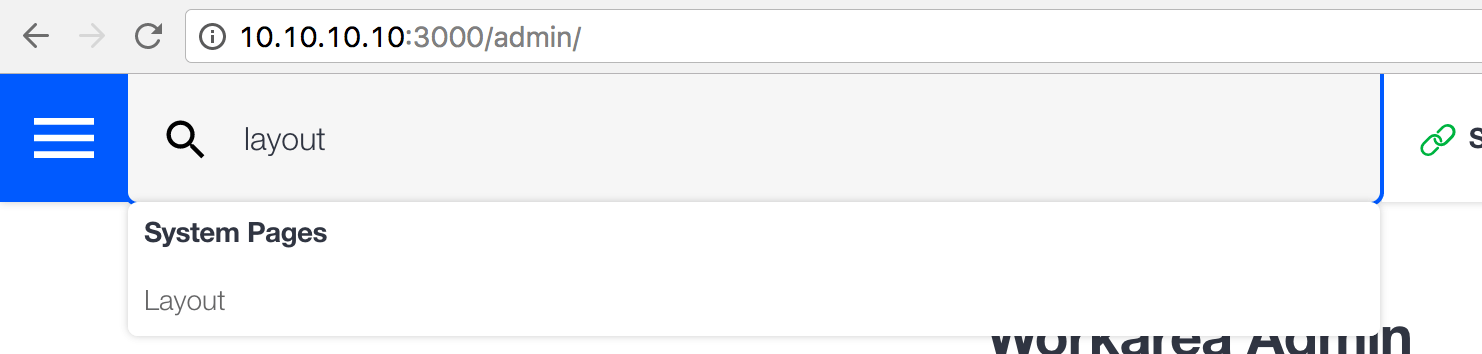
In this guide, I outline the steps for adding an additional content area and displaying it within the Storefront. My examples will use the Layout content instance. For context, search for this system page in the Admin and then choose to edit its content.
Notice this content already has multiple areas (Header Promo and Footer Navigation in the image below).

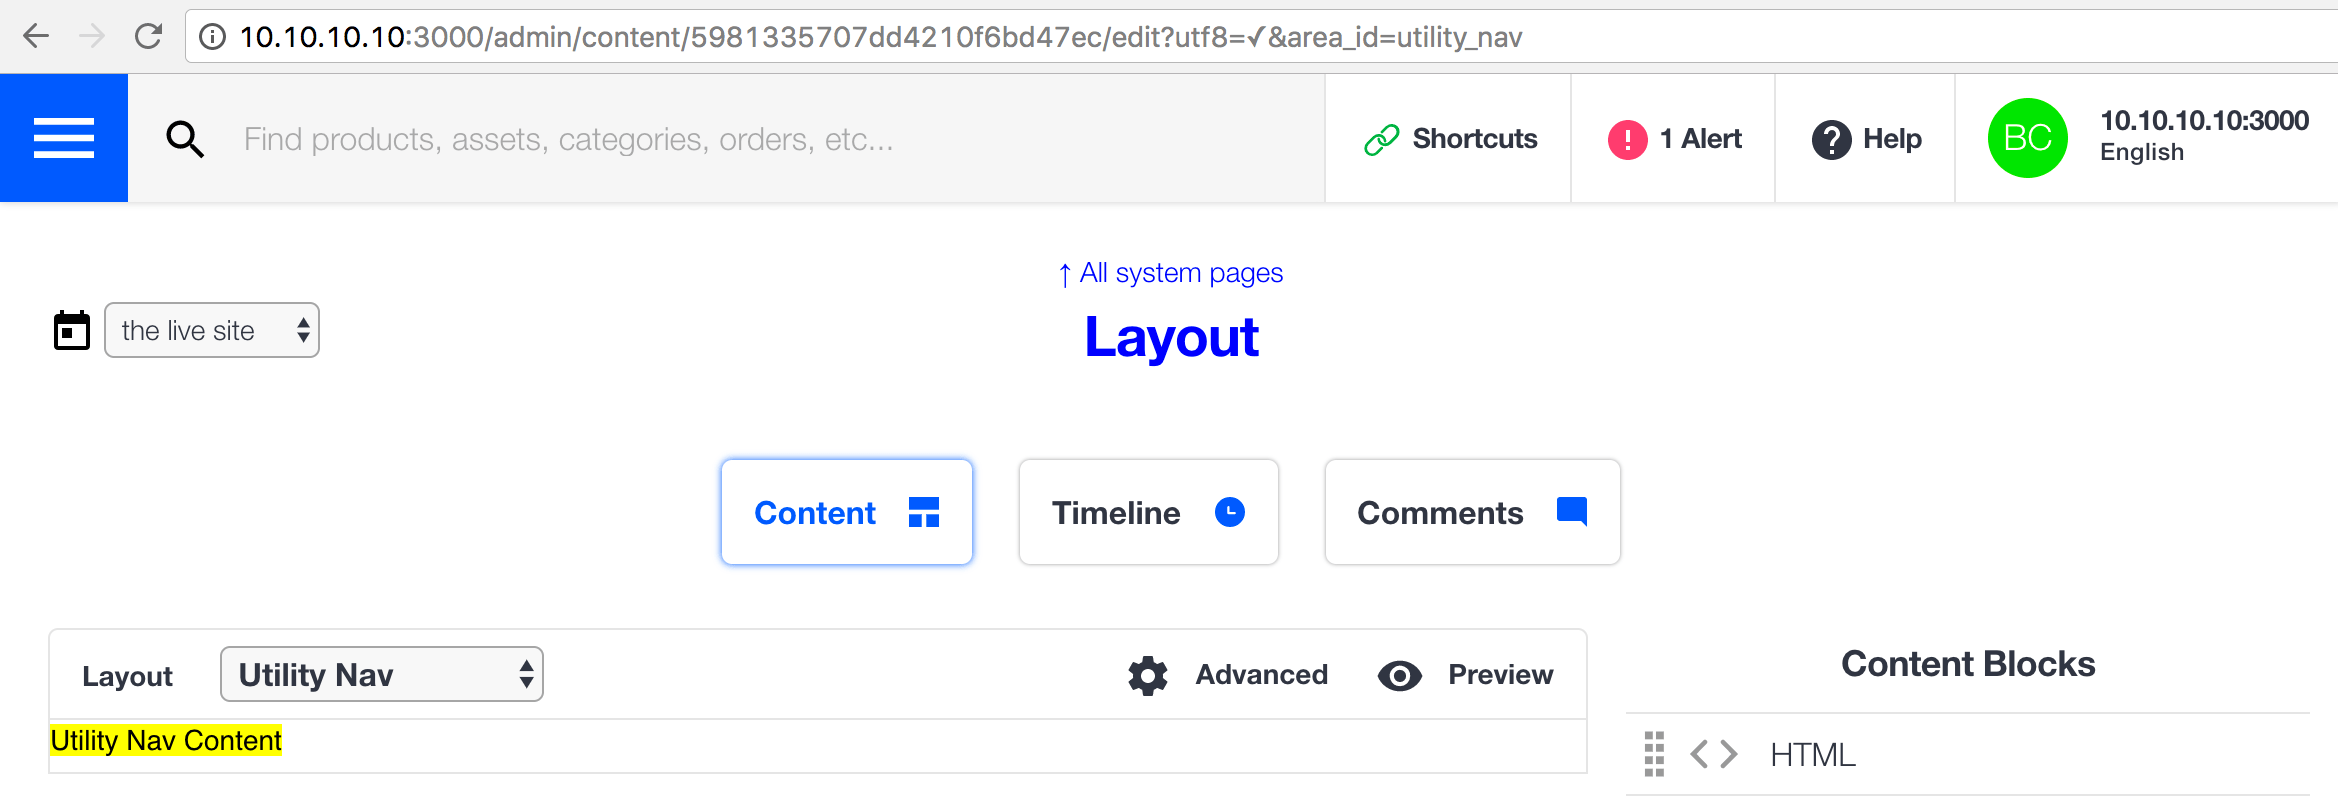
My example adds a 3rd area, utility_nav, as shown below.

And then outputs the blocks for this additional area in the Storefront.

Configure Areas
The Admin uses the value of Workarea.config.content_areas to determine which areas to display when editing content. The example below shows the data structure of this value—a hash whose keys are strings and whose values are arrays of strings.
Workarea.config.content_areas
# => {
# "category" => ["above_results", "below_results"],
# "checkout" => ["confirmation", "confirmation_signup"],
# "customization" => ["above_results"],
# "generic" => ["default"],
# "layout" => ["header_promo", "footer_navigation"],
# "search" => ["results", "no_results"]
# }
You need to manipulate the keys and values in this hash to configure areas. When rendering the content editing UI, an instance of Workarea::Admin::ContentViewModel queries this hash looking for:
- A key matching the content's
slug - A key matching the content's contentable's
template - The key
'generic'
( Note: #1 above uses Workarea::Content#slug, not Workarea::Navigable#slug. Navigable slugs are guaranteed to be unique, but content slugs are not. Be aware when adding an area, you may be affecting many content instances. )
Workarea::Admin::ContentViewModel#areas returns the value (the array of strings) for the first matching key.
The following example should make this more clear.
content = Workarea::Content.for('Layout')
content_view_model = Workarea::Admin::ContentViewModel.wrap(content)

content_view_model.model.slug
# => "layout"

content_view_model.contentable.try(:model).try(:template)
# => nil

content_view_model.areas
# => ["header_promo", "footer_navigation", "utility_nav"]
Therefore, for my Layout content example, I see the hash key I need to use is 'layout', and this key already exists in Workarea.config.content_areas, so I need to shovel my additional area onto this existing key.
# config/initializers/content.rb

Workarea.config.content_areas['layout'] << 'utility_nav'
If the key you need does not exist, add the new key and use its value to declare the areas you'd like to include for that content.
Create Blocks for the Area
Create seeds for one or more content blocks, setting their area to the new area you configured. In my example, I create a simple html block, setting its area to 'utility_nav'.
# app/seeds/workarea/system_content_seeds.decorator

module Workarea
  decorate SystemContentSeeds do
    def add_layout_content
      super
      html = '<span style="background: yellow;">Utility Nav Content</span>'
      content = Content.for('Layout')
      content.blocks.create!(
        area: 'utility_nav',
        type: 'html',
        data: { html: html }
      )
    end
  end
end
Test Admin
After running seeds, you can see a block saved on the content for the new area.
Render Blocks in Storefront
In the Storefront, use Workarea::Storefront::DisplayContent#content_blocks_for to find the blocks for the given content and area.
The view model used for the layout content already includes Workarea::Storefront::DisplayContent, so all that's required is a partial to render the blocks.
I add the partial.
( If my application were already overriding the layout, I would skip the partial and render the blocks directly in the layout file. )
/ app/views/layouts/workarea/storefront/_utility_nav_content.html.haml

- if layout_content.content_blocks_for('utility_nav').present?
  .grid__cell
    = render_content_blocks(layout_content.content_blocks_for('utility_nav'))
And append it to the layout.
# config/initializers/appends.rb

Workarea.append_partials(
  'storefront.utility_nav',
  'layouts/workarea/storefront/utility_nav_content'
)
Test Storefront
You can now test the feature end-to-end in your browser to confirm it is working as expected.
To catch regressions, write a system test confirming the correct blocks are rendered in the Storefront. I use the following test.
# test/system/workarea/storefront/content_system_test.decorator

module Workarea
  module Storefront
    decorate ContentSystemTest do
      def test_utility_nav_content
        html = '<span style="background: yellow;">Utility Nav Content</span>'
        create_content(
          name: 'layout',
          blocks: [
            {
              area: 'utility_nav',
              type: 'html',
              data: { html: html }
            }
          ]
        )

        visit storefront.root_path
        assert(page.has_content?('Utility Nav Content'))
      end
    end
  end
end
Help Us Improve this Doc
Was this helpful? Open a GitHub issue to report a problem with this doc, suggest an improvement, or otherwise provide feedback. Thanks!